
Wood Epoxies
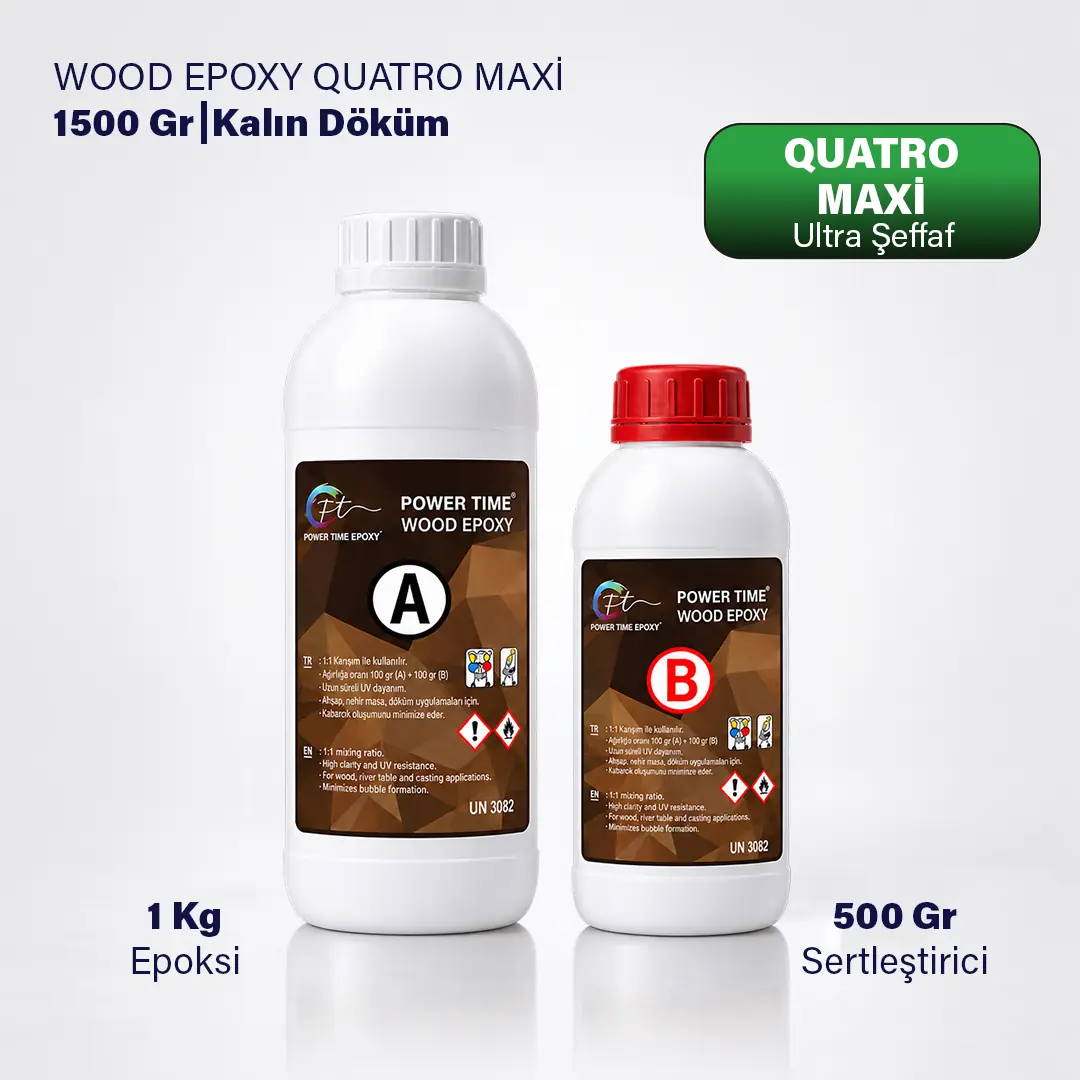 1,5 kg
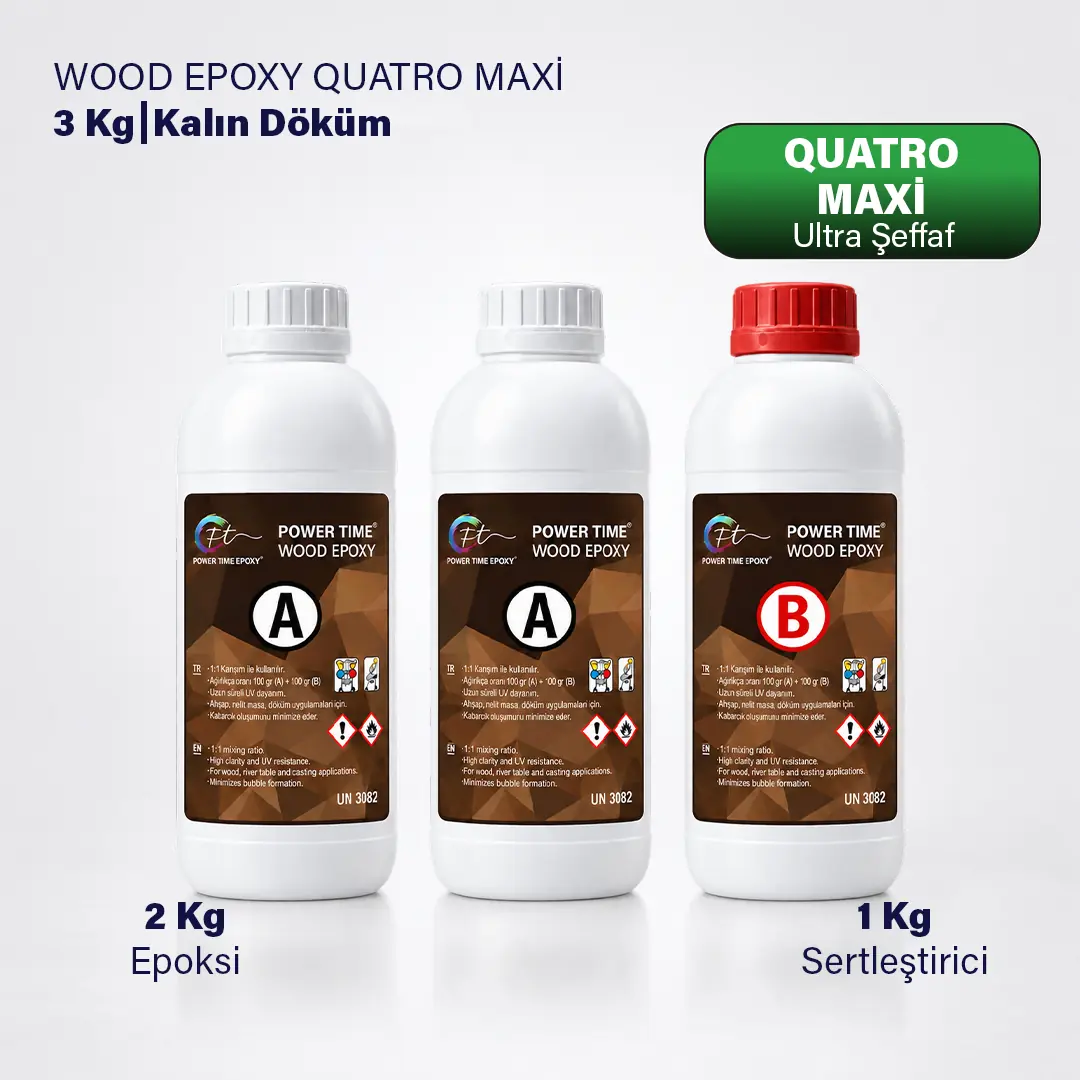 3 kg
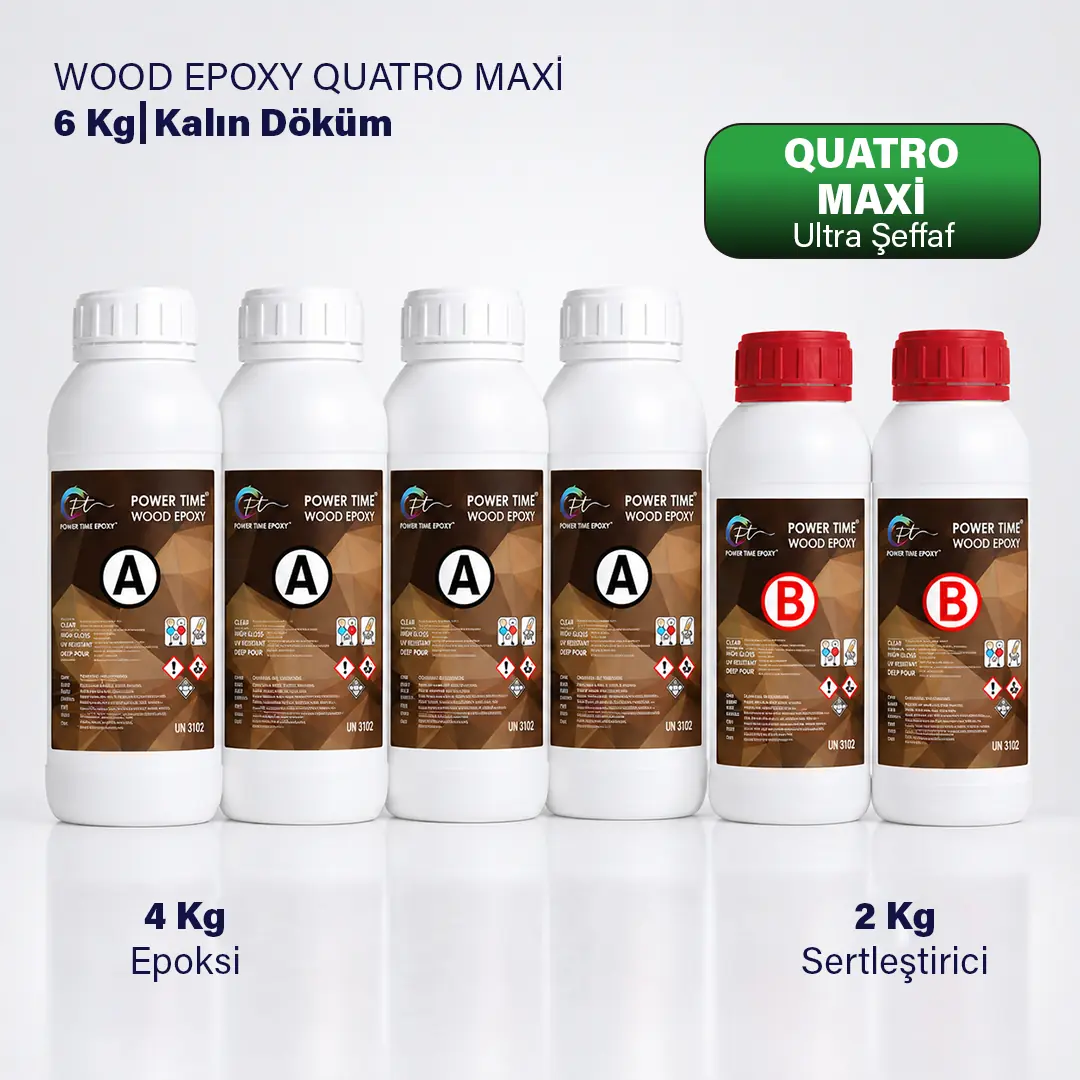 6 kg
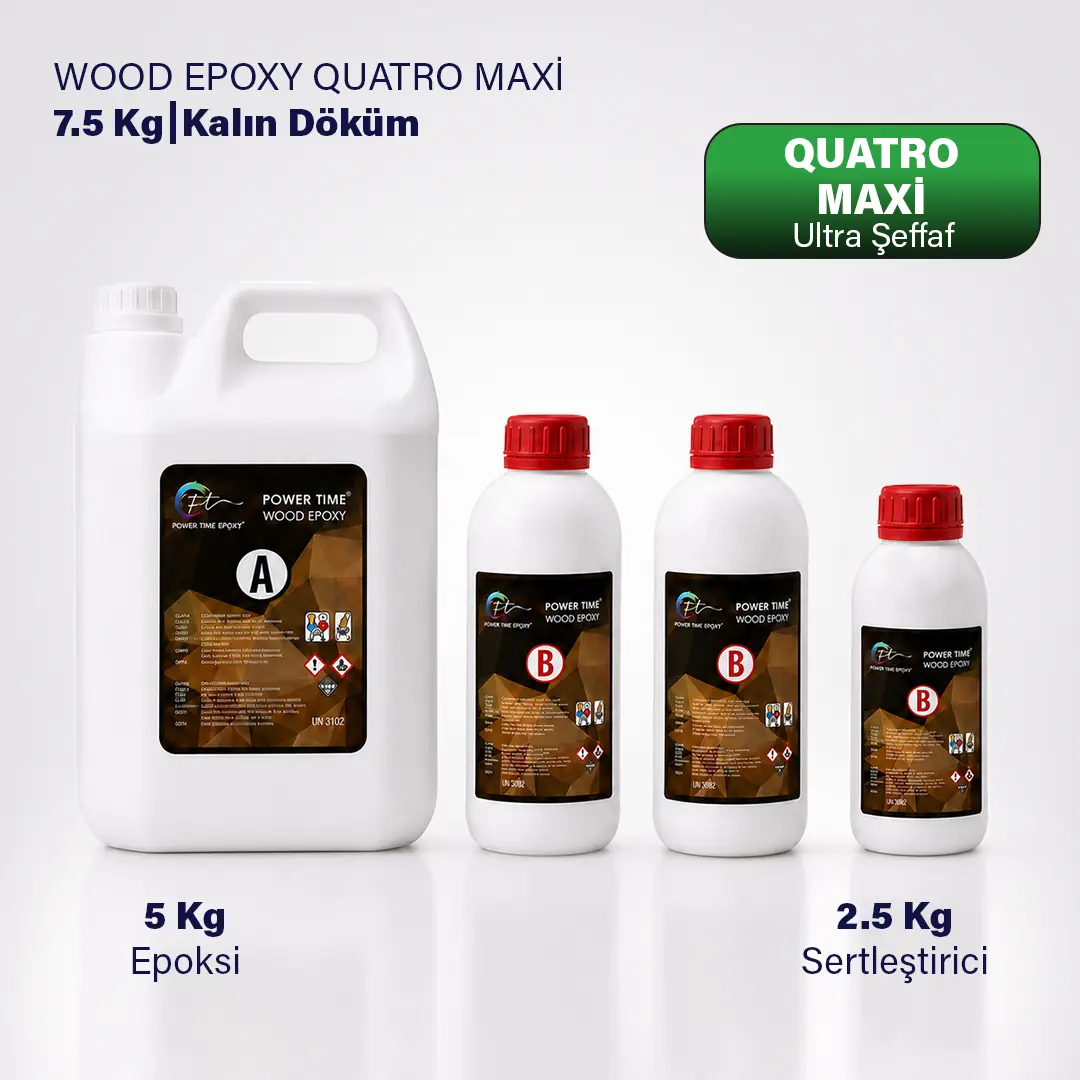 7,5 kg
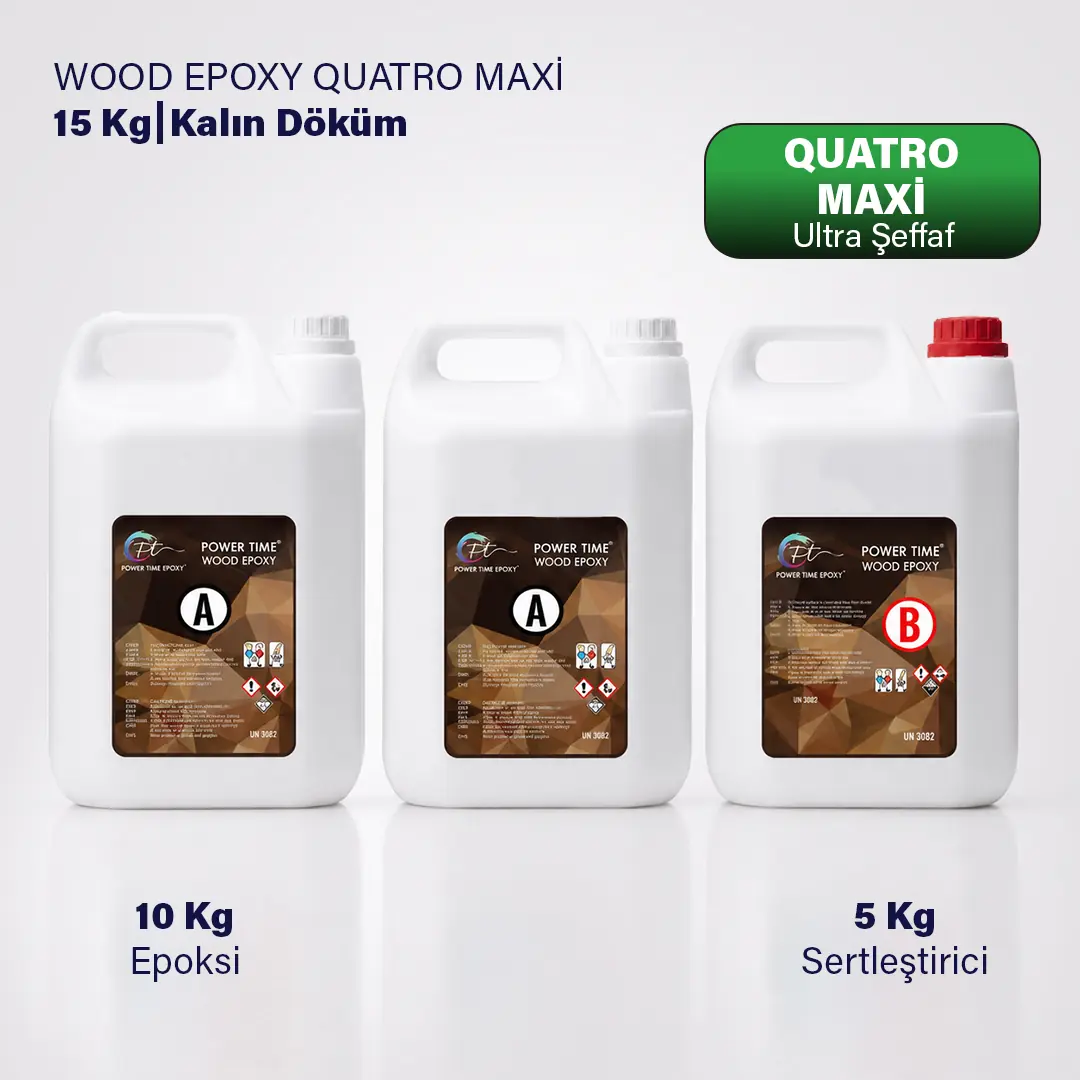 15 kg
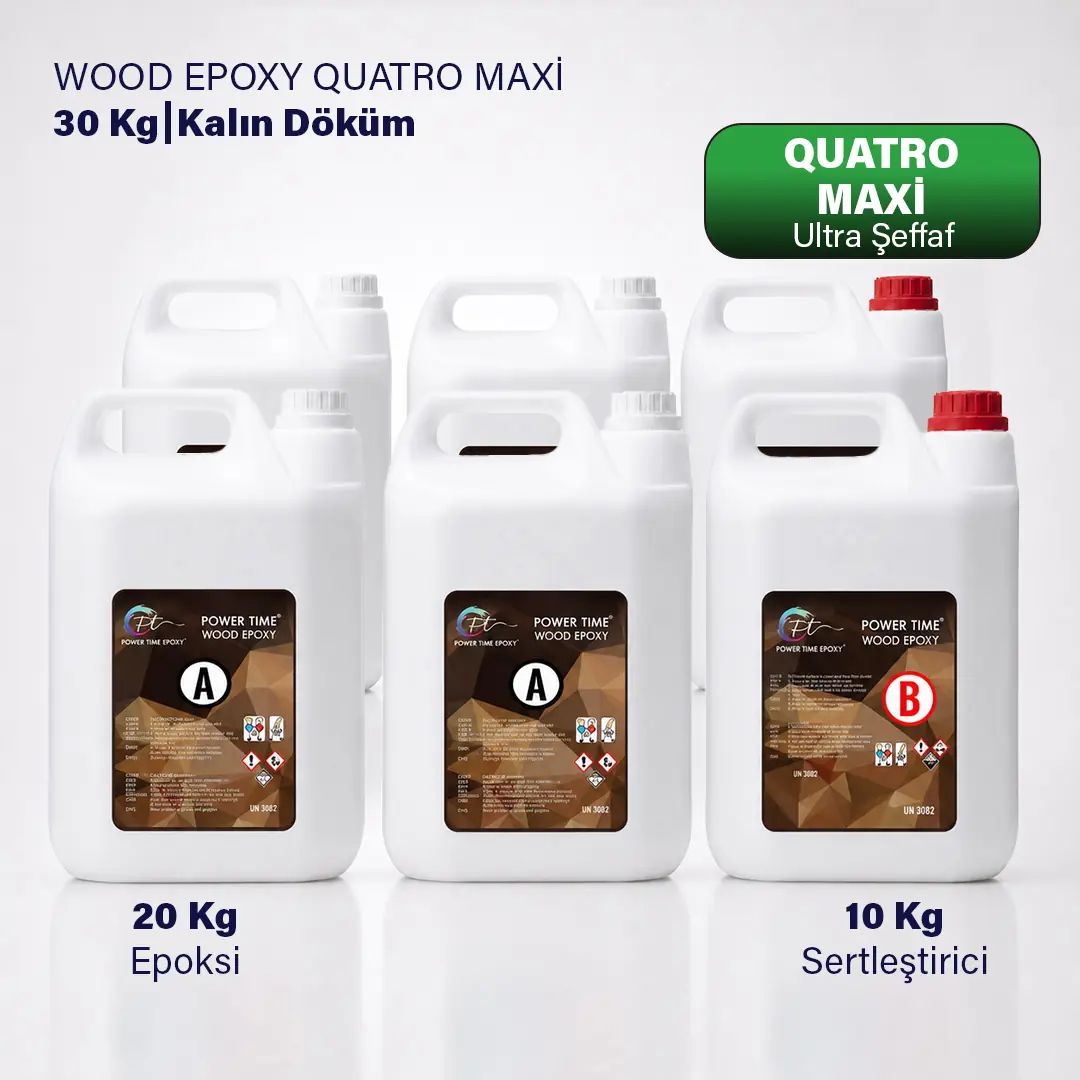 30 kg
What Is Wood Epoxy?
Wood epoxy (wood epoxy resin) is a two-component (resin + hardener) casting material formulated for use with wood. After mixing, it is poured in liquid form onto wood, into it, or between two wooden pieces; through a chemical reaction it cures into a glass-clear, hard, and permanent surface. From river table making to log filling, from bar countertops to decorative objects, wood epoxy is the main material of projects that turn wood into art.
The most important feature that separates wood epoxy from standard (hobby) epoxies is that it is formulated to be suitable for thick and deep pours: it cures more slowly and in a controlled way, manages the heat it produces during casting (exothermic reaction) better, and reduces the risk of cracking, yellowing, and bubbles in large-volume pours. Power Time Epoxy's WOOD EPOXY QUATRO MAXI series was developed exactly for this need: ultra clarity, resistance to yellowing, and reliable results in thick pours.
What Is Wood Epoxy Resin Used For? Application Areas
Wood epoxy resin is a versatile material that adds glass-clear depth to wood while preserving its natural beauty. Its most common uses are:
- River table making: Colored or clear epoxy is poured between two live-edge wooden slabs to create a "river" look. It is the first application that comes to mind when epoxy tables are mentioned.
- Table and countertop coating: Coating the surfaces of dining tables, desks, bar counters, and kitchen islands with epoxy; provides both protection and a glossy, luxurious appearance.
- Log and slice fillings: Filling the natural cracks, knots, and voids in wood slices (log coffee tables, wall panels) with clear or colored epoxy.
- Crack and knot repair: Filling applications that both strengthen the cracks of valuable woods and turn them into a decorative detail.
- Ocean-look decor and trays: Making trays, serving boards, and artworks with the wood + ocean-effect epoxy combination.
- Furniture details: Epoxy strips in coffee tables, consoles, shelves, and door panels; glow-in-the-dark (phosphorescent pigmented) fillings; custom designs.
- Artistic objects: Wood-epoxy combination clocks, lamps, figurines, and gift items.
In short: in every project involving wood, the material that fills the void, protects the surface, and creates a sense of depth is epoxy. When you choose the right product, professional results are possible even in your first project.
What Is Deep Pour Epoxy? Why Is It Important in Wood Projects?
Deep pour epoxy is a type of epoxy specially formulated to allow casting at depths measured in centimeters in a single pour. If you try to make a thick pour with standard epoxies, the reaction heat rises quickly; this can result in yellowing, cracking, excessive bubbles, and even complete failure of the pour.
Deep pour formulas solve this problem in three ways:
- Slow and controlled curing: The reaction heat rises gradually; the temperature stays under control even in a thick mass.
- Long working time: Allows you to work without rushing on color transitions, pigment effects, and large surfaces.
- Low viscosity: The fluid structure penetrates the pores of the wood and the depths of cracks; it gives bubbles time to rise to the surface and pop.
In projects such as river tables, thick log fillings, and block castings, using deep pour epoxy is not a preference but a necessity. Power Time Epoxy WOOD EPOXY QUATRO MAXI is the product we developed for deep pour projects; it is formulated with the goal of a deep, glassy, and clear result in a single pour. (For the maximum recommended pour depth per layer and the mixing ratio, refer to the values on the product label — the correct ratio is the first condition of flawless curing.)
What Should You Look For When Choosing Wood Epoxy?
There are many epoxy resins on the market; however, when choosing the right product for wood projects, you should look at these five criteria:
1. Clarity
A good wood epoxy should be glass clear when cured. Resins that cure cloudy, milky, or slightly yellow smother the texture of the wood and the color of the pigments. The starting point of Power Time Epoxy formulas is ultra clarity: the grain of the wood and your color transitions appear clearly even in the depths of the pour.
2. Resistance to Yellowing (UV Resistance)
Epoxy's best-known weakness is yellowing over time. Especially on tables exposed to sunlight, low-quality resins take on a yellow tone within months and spoil the look of the project. If you are looking for non-yellowing epoxy, choose products that emphasize UV resistance and back it up with their formula. Resistance to yellowing is one of Power Time Epoxy's core promises.
3. Ease of Application
Easy mixing of the two components, good fluidity, and easy bubble release mean saving time and material for both the beginner hobby user and the workshop working in series. "Easy-to-apply structure" expresses exactly this: a controlled, smooth working experience even on your first project.
4. Curing Time and Project Type Compatibility
Fast-curing products provide an advantage in small and serial jobs (jewelry, trays, small fillings); in thick casting work, slow-curing, low-exotherm formulas are essential. Choosing the product according to your project prevents almost all "my epoxy cracked / yellowed / is full of bubbles" complaints from the start.
5. Consistency and Supply Reliability
There is one more criterion for workshops: a manufacturer that delivers the same result in every batch, with continuous stock and support. We ship from our facility in Denizli to anywhere in Türkiye and personally answer the "which product and how many kg for this project?" questions asked by phone.
Power Time Wood Epoxy Products: Which One Is Right for Your Project?
The right product depends on the depth of the project and your working pace. The table below will make your choice easier:
| Product | Best-suited projects | Key feature |
|---|---|---|
| WOOD EPOXY QUATRO MAXI / 7.5 kg | River tables, thick log fillings, deep block castings | Special formula for deep pours; deep and glassy result in a single pour |
| HOBBY EPOXY QUATRO / 14 kg | High-volume production, large surface coatings, workshop use | Advantageous large package; ultra clear, resistant to yellowing |
| HOBBY EPOXY SMART / 7.5 kg | General-purpose castings, coatings, medium-scale projects | Balanced curing; both hobby and professional use |
| HOBBY EPOXY SPEED / 7.5 kg | Serial production, small pieces, jobs where a second layer is applied the same day | Fast-curing formula; shortens waiting time |
Practical selection rule: If your pour depth is measured in centimeters (river tables, log filling), choose WOOD QUATRO MAXI; for thin-to-medium layers and general work, SMART; if speed is the priority, SPEED; if your consumption is high, lower the unit cost with QUATRO 14 kg. If you are undecided, send us your project dimensions and let's calculate together.
How to Make an Epoxy River Table? Step-by-Step Guide
The river table is the king of wood epoxy projects. If the process is planned correctly, you can get impressive results even on your first table. The general workflow is as follows:
Step 1: Preparing the wood
Live-edge slabs are selected; using well-dried wood with a low moisture content is essential (high moisture ruins the epoxy's adhesion and clarity). Bark is removed, the surface is sanded and cleaned of dust.
Step 2: Sealing the pores (seal coat)
A thin layer of epoxy is applied to the cross-sections and porous surfaces of the wood to seal the pores. This step largely prevents air bubbles from being released from the wood during the main pour. The secret of a bubble-free river table often lies in this step.
Step 3: Mold preparation
A leak-proof mold is built (with melamine-coated board and silicone). A release agent (tape, mold release spray) is applied to the mold surfaces so the epoxy does not stick. The wooden slabs are fixed into the mold — use weights or clamps so the wood does not float during the pour.
Step 4: Mixing and coloring
The resin and hardener are weighed and mixed at the ratio stated on the product label (never by eye!). Mix slowly, scraping from the bottom and corners; fast mixing produces bubbles. For the river effect, liquid pigments and pearlescent powder pigments are added at this stage — ocean blue + white wave effect is the most loved combination.
Step 5: Pouring
Make the pour respecting your deep pour product's single-layer limit; proceed in layers if necessary. Pouring patiently in a thin stream from a single point reduces bubbles. Bubbles rising to the surface are popped with short touches of a heat gun or torch.
Step 6: Curing and waiting
The pour is left to cure in a dust-free environment with a stable temperature (ideally around room temperature). Be patient for full hardening in thick pours; early intervention leaves marks. Touch dryness and full curing are different things — for sanding and use, wait for the full curing time on the product label.
Step 7: Demolding, sanding, and polishing
The cured slab is removed from the mold, the edges are trimmed, and the surface is leveled with progressive sanding (from coarse to fine). Finally, glass-like gloss is achieved with polishing or a surface varnish/oil application. The legs are mounted — your river table is ready.
How Many KG of Epoxy Do You Need? Practical Calculation
"How many kilos of epoxy should I buy for this table?" — the question we get most. The calculation is simple:
- Calculate the volume of the void to be filled: length (cm) × width (cm) × depth (cm) = volume (cm³)
- Divide the cm³ value by 1000 → liters
- Multiply the liters by approximately 1.1 → the required amount of mixture (kg) (the density of epoxy is approximately 1.1 g/cm³)
Example: For a "river" void 180 cm long, 12 cm wide on average, and 4 cm deep: 180 × 12 × 4 = 8,640 cm³ = 8.64 liters × 1.1 ≈ 9.5 kg of mixture is needed. Adding a 5-10% margin for waste and pore absorption is always wise — in this example, buying 10-10.5 kg would be safe.
Note: Since river voids are irregular, measure the width at several points and take the average. If you are undecided, send us the measurements; let's calculate together and recommend the right package (7.5 kg / 14 kg).
The Bubble Problem in Epoxy: Causes and Solutions
Bubbles are a problem everyone working with epoxy experiences at least once; but if the causes are known, they can largely be prevented:
- Fast/circular mixing: Traps air in the mixture. Solution: mix slowly with a scraping motion; change the cup (double-cup) and mix once more.
- Air released from the pores of the wood: The most insidious source. Solution: always apply a thin seal coat before the main pour.
- Cold product / cold environment: Increases viscosity; bubbles cannot rise to the surface. Solution: work with the product and the environment at room temperature (on cold days, warming the bottles in a warm water bath increases fluidity — make sure the water does not touch the mixture).
- Bubbles rising to the surface: In the first minutes after pouring, make short touches from a distance with a heat gun/torch; do not linger with the flame.
- A single layer that is too deep: A layer poured beyond the product's limit heats up and foams. Solution: use a deep pour product and respect the layer limit.
Why Does Epoxy Yellow? How to Prevent Yellowing?
There are two main causes of yellowing: UV light (the sun degrades the chemical structure of epoxy over time) and uncontrolled rise of reaction heat (a thick pour with the wrong product can yellow the mixture while it is still curing). To prevent it:
- Use resins with an emphasized UV resistance and a yellowing-resistant formula — this is our core goal in all Power Time Epoxy series.
- Always use a deep pour formula for thick pours; do not pour standard resin deep.
- On surfaces exposed to direct and constant sunlight (such as garden tables), applying a UV-filtered varnish on top provides extra protection.
- Pay attention to the mixing ratio and thorough mixing — an off-ratio mixture both stays soft and loses color.
Coloring Wood Epoxy: Using Pigments
A clear pour is elegant; but color often gives the river table its character. You can work with two types of pigments:
Liquid pigment paints
Gives intense, homogeneous color; strong tones are achieved with a few drops. Ideal for ocean blue rivers, deep black strips, and vivid neon effects. In our liquid pigment collection, there are also neon series alongside the basic colors.
Pearlescent (metallic) powder pigments
Gives light-playing, pearl/metallic shimmering depth effects. Wave, swirl, and galaxy effects are made with a small amount of powder. Our powder pigment collection and advantageous sets (Pearl Set of 4, Favorites Set of 9) are the most preferred.
Practical tips: Always add pigment from less to more; keep the ratio low if transparency is desired; pouring two colors into the mold from separate points and mixing lightly in one direction creates natural transitions. In the white + blue combination, the "wave foam" effect with a heat gun is the classic of river tables.
Sanding, Polishing, and the Final Coat: Reaching Glass-Like Gloss
A cured epoxy surface is finished in three ways:
- Progressive sanding + polishing: Starting from coarse grit (surface leveling), you go down step by step to very fine grits; then polish with polishing compound. This is the glassiest, most professional result.
- Thin final epoxy layer (flood coat): A very thin layer of clear epoxy is poured onto the sanded surface to obtain a self-leveling glossy finish.
- Varnish/wood oil combination: A final coat compatible with the wooden parts, for those who want a matte/satin touch.
Whichever method you choose, the golden rule is the same: do not start sanding before full curing. Sanding marks on a soft surface become permanent.
Safe Working: What to Watch Out for When Using Epoxy?
- Use nitrile gloves when working with uncured resin and hardener; avoid skin contact.
- Work in a well-ventilated environment; use an appropriate mask for long working sessions.
- Wear a dust mask during the sanding stage (cured epoxy dust should not be inhaled).
- Store products out of the reach of children, with lids closed, in a cool environment.
- For surfaces that will come into contact with food, do not use before the full curing time has passed.
The 7 Most Common Mistakes in Wood Epoxy
- Mixing by eye: If the ratio is off, the epoxy either never hardens or stays sticky. Always use a precision scale.
- Thick pour with standard resin: Overheating → yellowing and cracking. Use a deep pour product for thick work.
- Using damp wood: Adhesion problems and cloudiness. Work with dried wood.
- Skipping the seal coat: Endless bubble release from the wood during the main pour.
- Pouring in the cold: Fluidity drops, bubbles increase, curing is prolonged/spoiled.
- Impatient sanding: Touching the surface before full curing leaves permanent marks.
- Not testing the mold for leaks: Liters of mixture leaking from the mold is the most expensive lesson. Check the mold before pouring.
Which epoxy is best for wood?
It depends on the project: for deep pours (river tables, log filling), the deep pour formula WOOD EPOXY QUATRO MAXI; for general-purpose work, HOBBY EPOXY SMART; for serial jobs where you want to progress quickly, HOBBY EPOXY SPEED is ideal. The common denominator: ultra clarity and resistance to yellowing.
How many kg of resin is needed for an epoxy table?
Calculate the volume of the void: width (cm) × length (cm) × depth (cm) ÷ 1000 = liters; liters × 1.1 ≈ kg. For a medium-sized river table this usually corresponds to a range of 7-12 kg; add a 5-10% waste margin. If you send us your measurements, we will calculate together.
How long does epoxy take to dry?
It depends on the product, layer thickness, and ambient temperature. While fast formulas reach surface dryness within hours, full curing in thick pours can take days. For exact times, refer to the label of the product you are using; always wait for full curing before sanding and heavy use.
Does epoxy yellow?
Low-quality resins yellow over time under UV exposure. Yellowing-resistant formulas (such as the Power Time Epoxy series) significantly delay/reduce this process. On surfaces exposed to constant direct sunlight, a UV-filtered final varnish provides additional protection.
Is making a river table difficult? Can I succeed on my first project?
With the right product and the right order (dry wood → seal → leak-proof mold → weighed mixture → pour within the layer limit → patient curing), yes, it can be done even on a first project. Follow the step-by-step guide on this page; call us wherever you get stuck.
Can epoxy be poured over epoxy?
Yes. If you lightly sand between layers (dulling the surface) and clean the dust, the new layer adheres perfectly. Working in layers is the safest method in deep projects.
Which woods is epoxy used with?
Characterful, grained woods such as walnut, oak, chestnut, ash, and olive are the most preferred for river tables. What matters is not the species but that the wood is well dried.
How do I prevent bubbles?
Mix slowly, apply a seal coat, keep the product and the environment at room temperature, and make short touches with a heat gun on the surface after pouring. See the "Bubble Problem" section above for details.
Is epoxy food safe?
Fully cured epoxy surfaces are widely used in general applications (serving boards, trays); however, the surface must be fully cured. For special cases involving direct and continuous food contact, please contact us.
How does shipping work, how do products reach me?
Orders leave our warehouse in Denizli in sturdy packaging; we ship to anywhere in Türkiye. Shipping is free on orders over 550 TL.
Why Power Time Epoxy?
Because we are a team that thinks like a user, not a seller of these products. Ultra clarity, resistance to yellowing, and easy application are not marketing phrases for us; they are the formula itself. From the hobbyist pouring their first tray on the kitchen table to the workshop pouring meters of tables every week, we send the same product to everyone with the same care.
- Ultra clear, yellowing-resistant formulas
- A series suited to every project type, from deep pours to fast jobs
- From pigments to sets, all needs at a single address
- Free shipping over 550 TL, delivery to anywhere in Türkiye
- Real support at the end of the phone: tell us your project dimensions and let's calculate how many kg you need together
If you are undecided about choosing the right epoxy for your wood project, contact us — share your measurements and we will recommend the most suitable product and amount. If you are ready, start today with the products above: let your wood attain the clarity it deserves.